Creating an Event on ImpactFlow
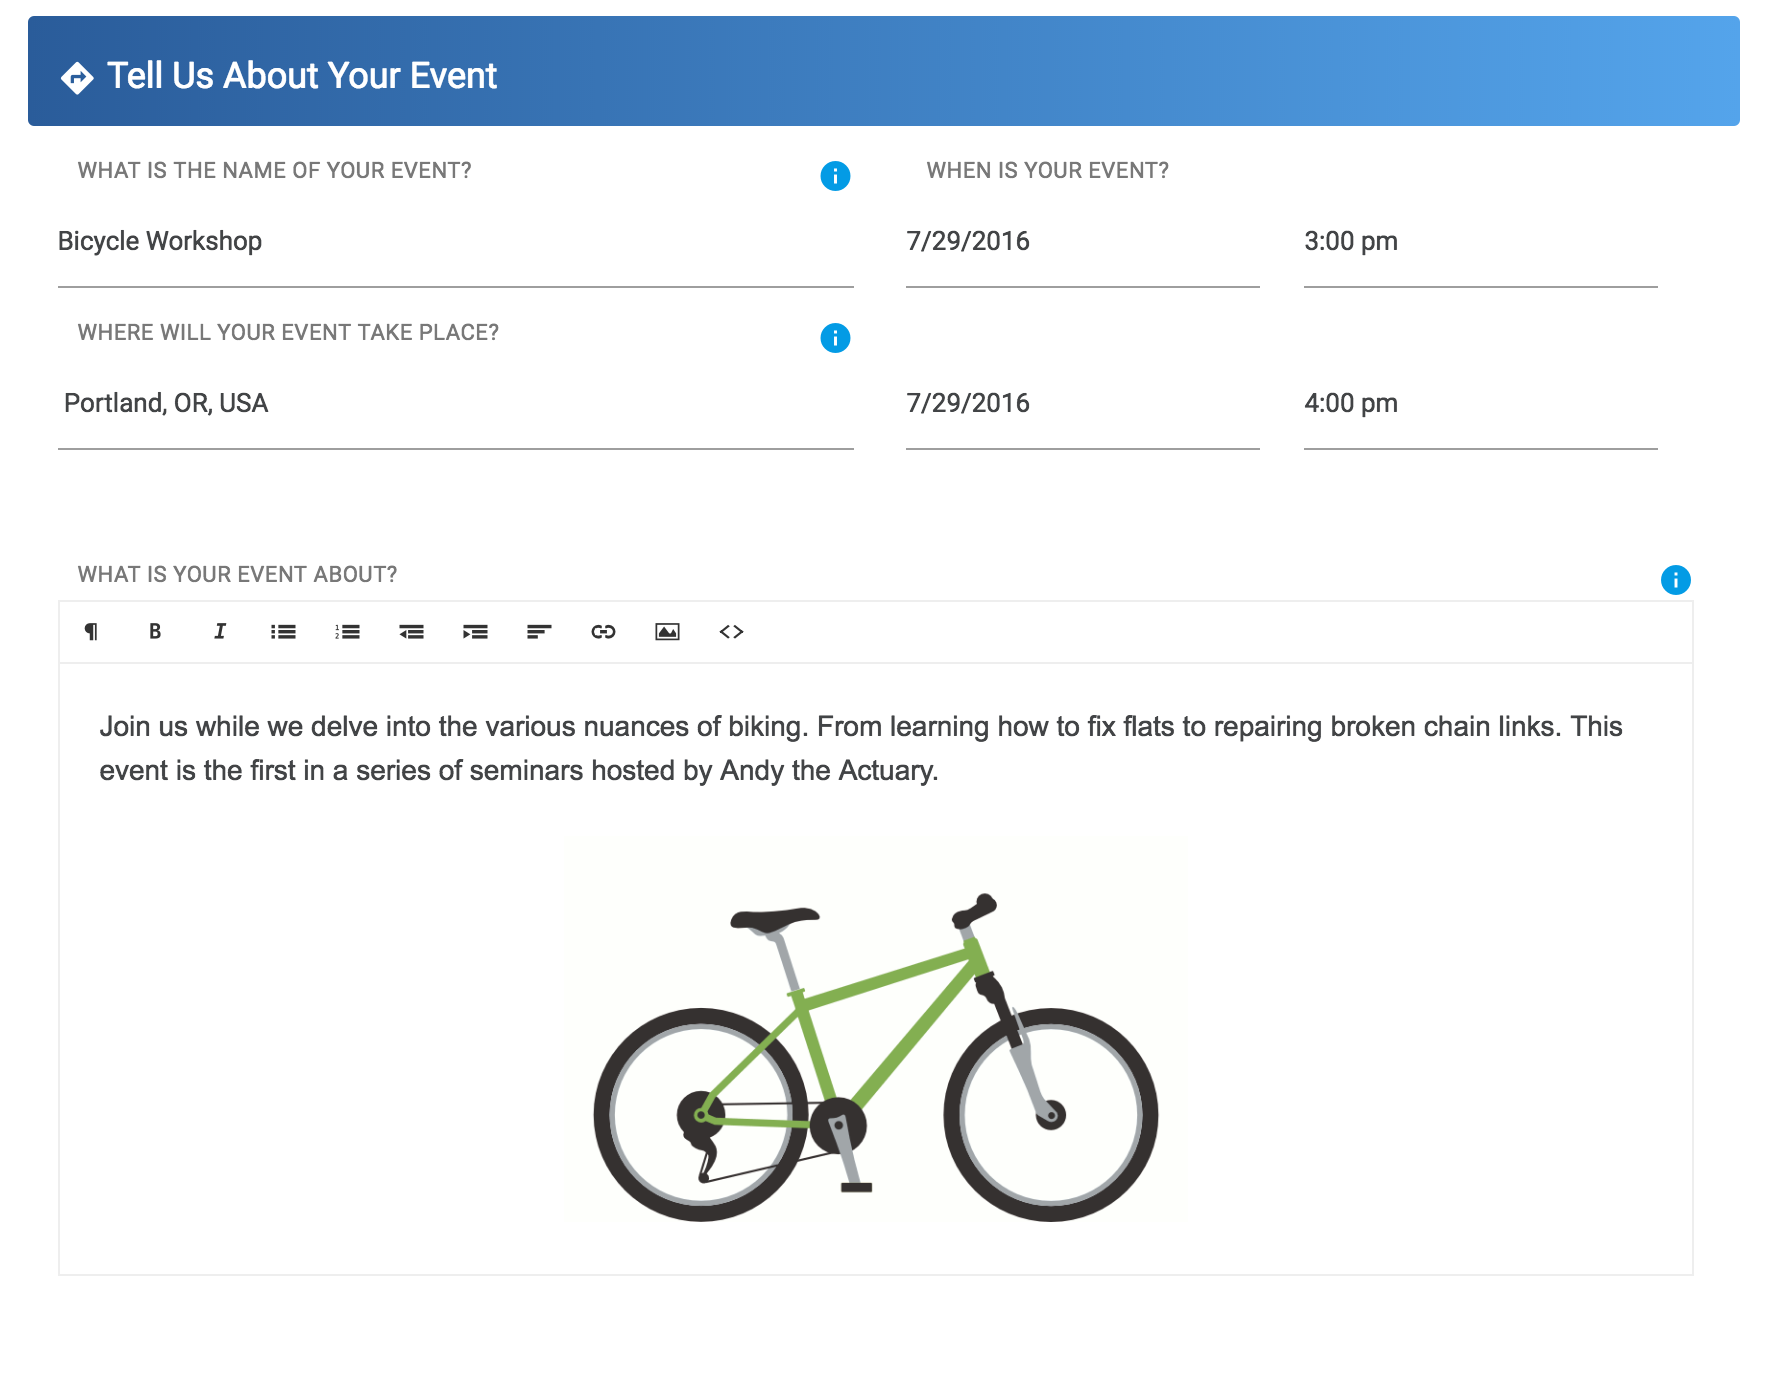
From your ImpactFlow dashboard, click on Create an Event. You can use either the blue Create an Event button under Notifications or click at the top of the page. This is your chance to tell the world about your event! Give it a name, tell us all about it, and pick the date when it’s all going down.
Did you know that our event details editor is the best in the market? (It is labeled: What is your event about?)
You can add images, gifs, links and add all kinds of formatting to create a truly customized event experience. Please note that if you would like to give people a way to contact you, adding your email address to the event description is the best way to do that.
Setting up Your Tickets
The Basics
At the most basic level, our ticket creation tool allows you to create a name for your ticket, choose a ticket type, set a price and set a quantity.
Ticket Name: This is where you can enter in the name for your tickets. Common names that people use in this area are 'General Admission', 'VIP' or 'Tier One'.
Ticket Type: On ImpactFlow there are two ticket types, paid and free. When you create a paid ticket, you are responsible for setting a price. If you create a free ticket, the price will lock in to zero.
Price: This is where you set the ticket price.
Buyer Total: Below the field where you set the ticket price, you will see a different number listed as the buyer total. This is the number that a ticket buyer will pay after the lowest fees in the industry have been collected. Fees do not always need to be passed on to the user. As an event host, you can volunteer to pay the fees, which is covered below in the 'Absorbed Fees' section.
Quantity: This is where you set a quantity for each ticket type.
Once you have filled out the basics, you can click on the gear icon to open up some of the advanced settings:

Advanced Ticket Options
Additional Details: This is a text area where you can provide more information about the ticket. Entering information here is highly recommended, especially when there are key differences between your tickets.

Fees Options:
You have two choices when deciding on fee options. You can pass the fees on to your attendees or absorb them yourself. If you pass the fees on, ImpactFlow is completely free to use. If you choose to absorb the fees, you are choosing to pay a small percentage of the ticket price in exchange for providing a flat price for your attendees.

Ticket Scheduling: You have a bevy of options when it comes to scheduling your ticket availability. Let's run through the options:

When to start sales - here you have three options:
1) Start selling tickets when the event is published - this means that as soon as you hit 'Publish' at the bottom of the page your tickets will go live.
2) Start selling tickets on a specific date - this means that you will select a date and time, and sales of this ticket will begin at exactly that time.
3) Start selling tickets when another ticket sells out or expires - this means you can automate your ticket availability. There will be a drop down menu that allows you to choose from existing tickets. When the ticket you select either expires or sells out, the ticket you are editing will go live. We think automation is pretty cool!
When to end sales - here, you can set a date for ticket sales to end. Sales will end either on this date, or when the ticket sells out.
Ticket Visibility: Here, you have four options that give you control of whether or not people looking at your event will see your ticket.

1) Show this ticket type - This means that the ticket will always show. This setting can be changed at any time.
2) Hide this ticket type - This means that the ticket will be hidden. This setting can be changed at any time.
3) Auto-hide when not on sale - This means that the ticket will only show when it is on sale and available to be purchased. This is choice is used often as it keeps lists of tickets clean by only showing available tickets. Using this choice also means the tickets will show in line with the schedule you already set.
4) Auto-hide during custom time frame - This means that you can set a schedule for when a ticket will and won't show up on the event page. This choice is used when you want tickets to show up in a different pattern than you set up while scheduling your tickets.
Tickets Allowed Per Order: Here, you can set a minimum and maximum number of tickets that can be purchased in one order. Want to protect against people buying up all the tickets? Set a maximum of 1 or 2. Want to guarantee that tables are full? Set a minimum at the table capacity to make sure you account for every seat.
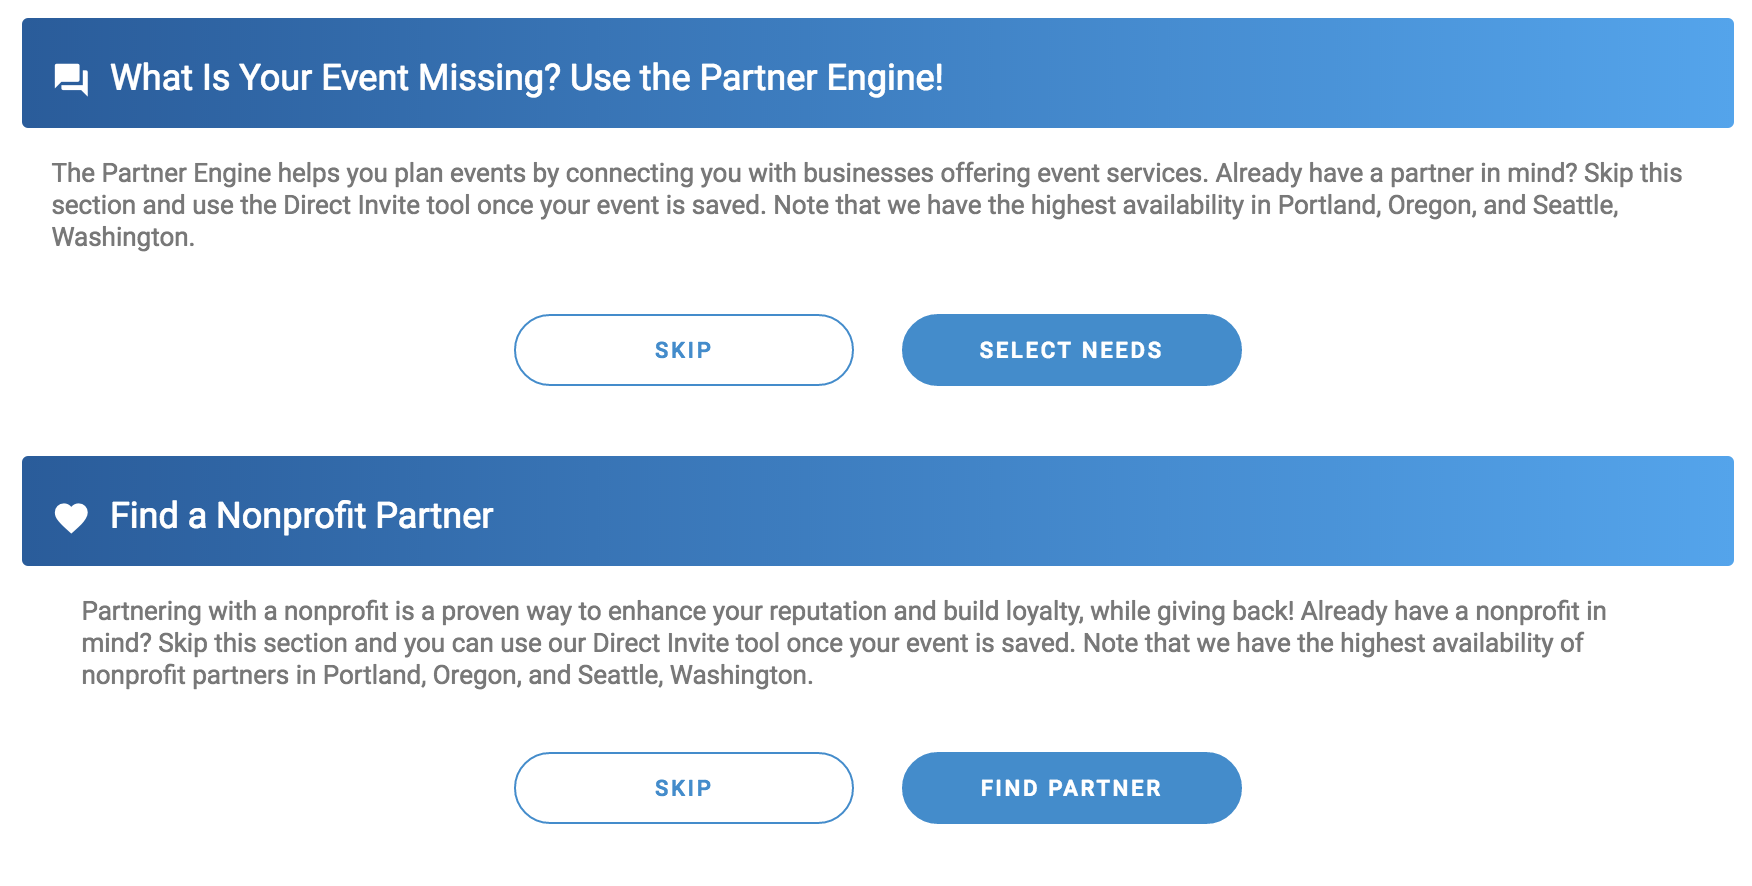
Requesting Event Partners
When you are creating an event, there is an option for you to request partners. Businesses can partner with other businesses and nonprofits. Nonprofits can partner with businesses. To send out a partnership opportunity, click on 'Select Needs' or 'Find Partner'. Pressing 'Skip' will scroll down to the next step, as using the
 a
a
Once you click on one of these buttons, a table will pop up with the various options you have to choose from. Once you click on a category, the table will open up and a text box will appear. This is where you enter in the details about your need. The details section is very important. We highly encourage you to explain in detail how many people you expect to attend, what kind of budget you have available (if you are looking for a business partner), and what other benefits the partner might get out of partnering with your event. Below is an example of a high quality partnership 'description'.
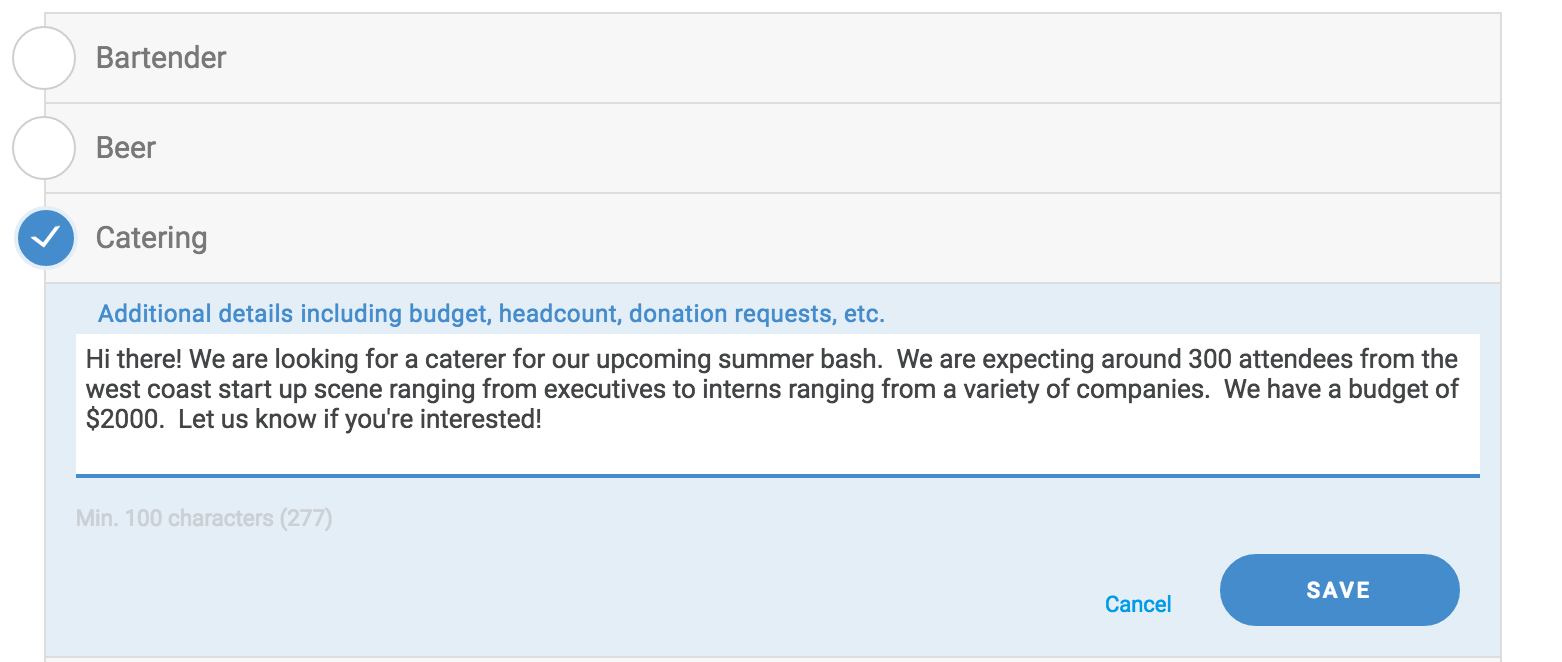
When you click 'Save', the text will save. It will not send until you reach the bottom of the event creation page. Please note that when you have partnership categories selected, emails from our system will send whether you choose 'Save A Draft' or 'Publish'. this allows event hosts the opportunity to seek out partnerships before an event goes live. If you do not want partnership opportunity emails to go out, please make sure you have not selected any categories when you 'Save A Draft' or 'Publish'. You can always edit your event later, when you are ready for emails to be distributed.
Once you have sent out your requests, you can manage responses and partnerships using our Partnership Engine Features.
Custom Questions
This feature allows you to ask specific questions to your guests using a variety of handy formats. You can put this feature to work in basic and creative ways, such as requesting meal preference, schwag T-shirt sizes, “how did you hear about us?” marketing input, and so forth.
Using the custom event questions feature is very easy. Once you have completed the first stage of inputting and saving your event details in the Create Event process, you can scroll down to an option called Create Custom Questions.
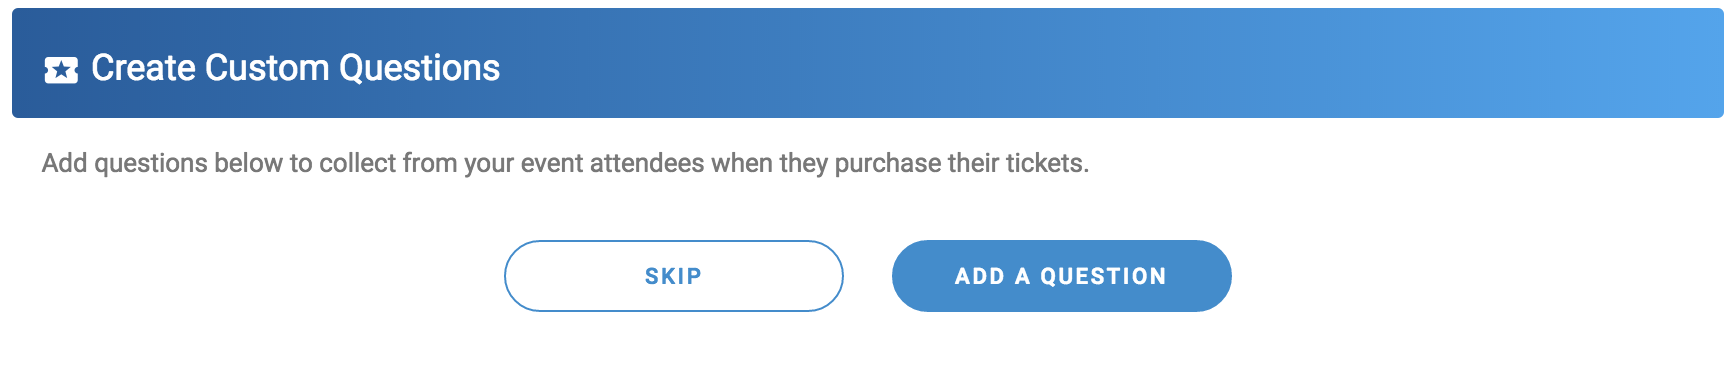
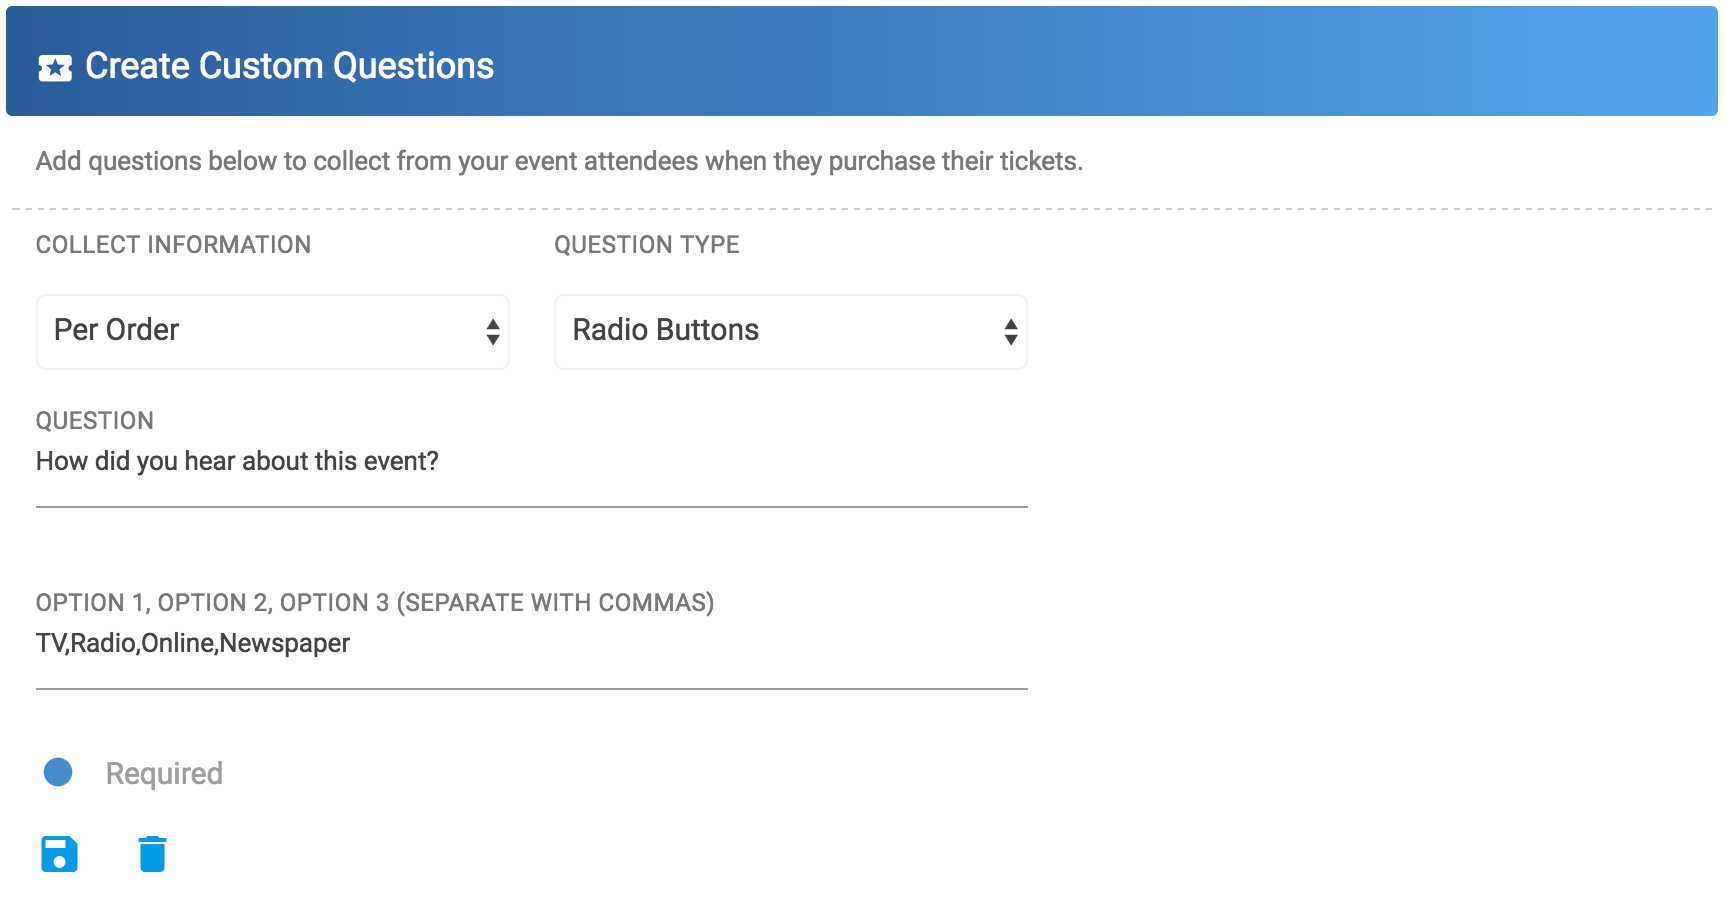
Click the Add a Question button and our question creator expands, presenting a variety of options on the type of question, if you want to ask per order or individual attendee, and depending on the Question Type, the available responses. You can choose to make the question Required, or optional by leaving the Required button unchecked. Hey, that’s a custom question in itself!
Here is a Radio Button question example, which allows the attendee to choose a single option among a variety of possibilities. In other words, a “multiple choice” question with one answer.
Checkboxes are helpful when you want the attendee to be able to choose any variety of answers to a question. In other words, “multiple choice” with unlimited answers.

Be sure to save your questions as you create them using the Save disk icon. Once your work is saved, you will see a confirmation pop-up.

You can also require that each attendee in a bulk ticket order provide a response by selecting Per Ticket in the COLLECT INFORMATION drop down. Just as in the Per Order setting, all QUESTION TYPES are available.

Once you’ve created your event and the event is live, these questions will be presented during the ticket checkout process in a logical progression that starts with their basic information and proceeds through each question. The Per Order and Per Ticket questions are separated to make the checkout process easy.

Event Customization
We all know that no event is created equal, so it is important that you have some extra controls to edit privacy, select a hashtag, and upload a high quality image for your beautiful profile page. Let's run through the options.
What Can See This Event?: Here you have the ability to choose between making your event public or private. A Public event is listed in our event marketplace, promoted by our team, and indexed in the search engines. Private events are only accessible by providing a link to the event profile page. These links can come from your newsletter, your social media profile or something similar. If you attendees share a link, the event will be accessible.

Create a #Hashtag For Your Event: Enter in the hashtag you want to use for your event. Our Amplifier tool will use this #hashtag when your event is distributed to various channels. We recommend choosing something short, catchy and unique. You can do research using tools like hashtagify.me.
Set The Cover Image For Your Event Profile: Want to display a high quality cover image on your profile page? This is the spot! Just click 'Add Photo' to get started. Please note that we recommend using an image size of 1400 x 788 (16:9 ratio) to achieve the best quality appearance.

When you click, a file browser will come up. From there, select the file you want to use. If you don't like all of the clicking, you can also just drag the file to the little '+' icon. Once you choose or drag your photo, you will see a loading bar. Depending on your image size, it could take a few seconds.
Once your image is loaded, a cropping tool will come up where you can select exactly how you want to use the image.

Remember, there will be some design elements blocking the top and bottom of your image, so try to leave a little bit of space on the top and bottom that you don't mind getting covered up. If you are (or you have) a creative designer, they could even work those design elements into the cover image they create. Once you feel good about your selection, hit 'Save'. The dimensions you have selected will load on the page.
From here, you can click Set Image to start over, Adjust to change the dimensions or Clear to remove the image.

Once you finish working on your event, you can see how the image looks on your event profile page.
Display a Video for your Event: Here, you can paste a URL to a video on YouTube or Vimeo and we will embed it on your event profile page. It's as easy as that!
Finishing Up
That's it, you're done, and you're an event creating master! If you are creating an event for the first time, you will see two options here, Save a Draft and Publish. Saving a draft will save all of the details so you can come back and finish later. Publish will make the event live, opening up ticket sales.
If you have any questions at all about creating an event or feel like we are missing something, please reach out using the 'Contact Us' button below and we will get back to you as soon as we can.
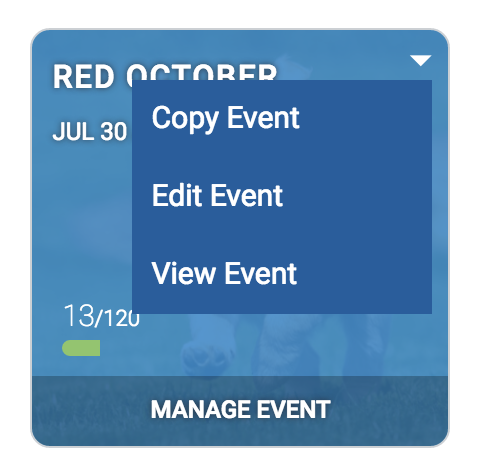
And don't forget, you can also copy your event! All you have to do is go to https://impactflow.com/dashboard and select the event you want to copy, click the little dropdown arrow and select 'Copy' on the dropdown menu.